
Connecting golf cart batteries might seem hard. But it is easy with steps. Follow this guide to connect batteries safely. Let’s start!
Why Connect Golf Cart Batteries?
Golf carts need batteries to run. Batteries give power to the cart. Sometimes, you need more power. So, you connect more batteries. This helps the cart go faster and longer.
Tools Needed
Before you start, gather these tools:
- Wrench
- Bolt driver
- Battery cables
- Safety gloves
- Safety goggles
Safety First
Always be safe. Wear safety gloves and goggles. Batteries have acid. Acid can hurt you. Work in a well-ventilated area. Make sure the area is dry.
Understanding Battery Connections
There are two types of connections:
- Series Connection: This increases voltage. Use this for more speed.
- Parallel Connection: This increases capacity. Use this for longer run time.
Series Connection Steps
Follow these steps for a series connection:
- Turn off the golf cart.
- Remove the seat to access batteries.
- Find the positive terminal on the first battery.
- Find the negative terminal on the next battery.
- Connect the positive terminal of the first battery to the negative terminal of the next battery using a cable.
- Repeat this for all batteries.
- Now, find the first battery’s negative terminal. Connect it to the cart’s negative cable.
- Find the last battery’s positive terminal. Connect it to the cart’s positive cable.
Parallel Connection Steps
Follow these steps for a parallel connection:
- Turn off the golf cart.
- Remove the seat to access batteries.
- Find the positive terminal on each battery.
- Connect all positive terminals together using cables.
- Find the negative terminal on each battery.
- Connect all negative terminals together using cables.
- Connect the first battery’s positive terminal to the cart’s positive cable.
- Connect the first battery’s negative terminal to the cart’s negative cable.
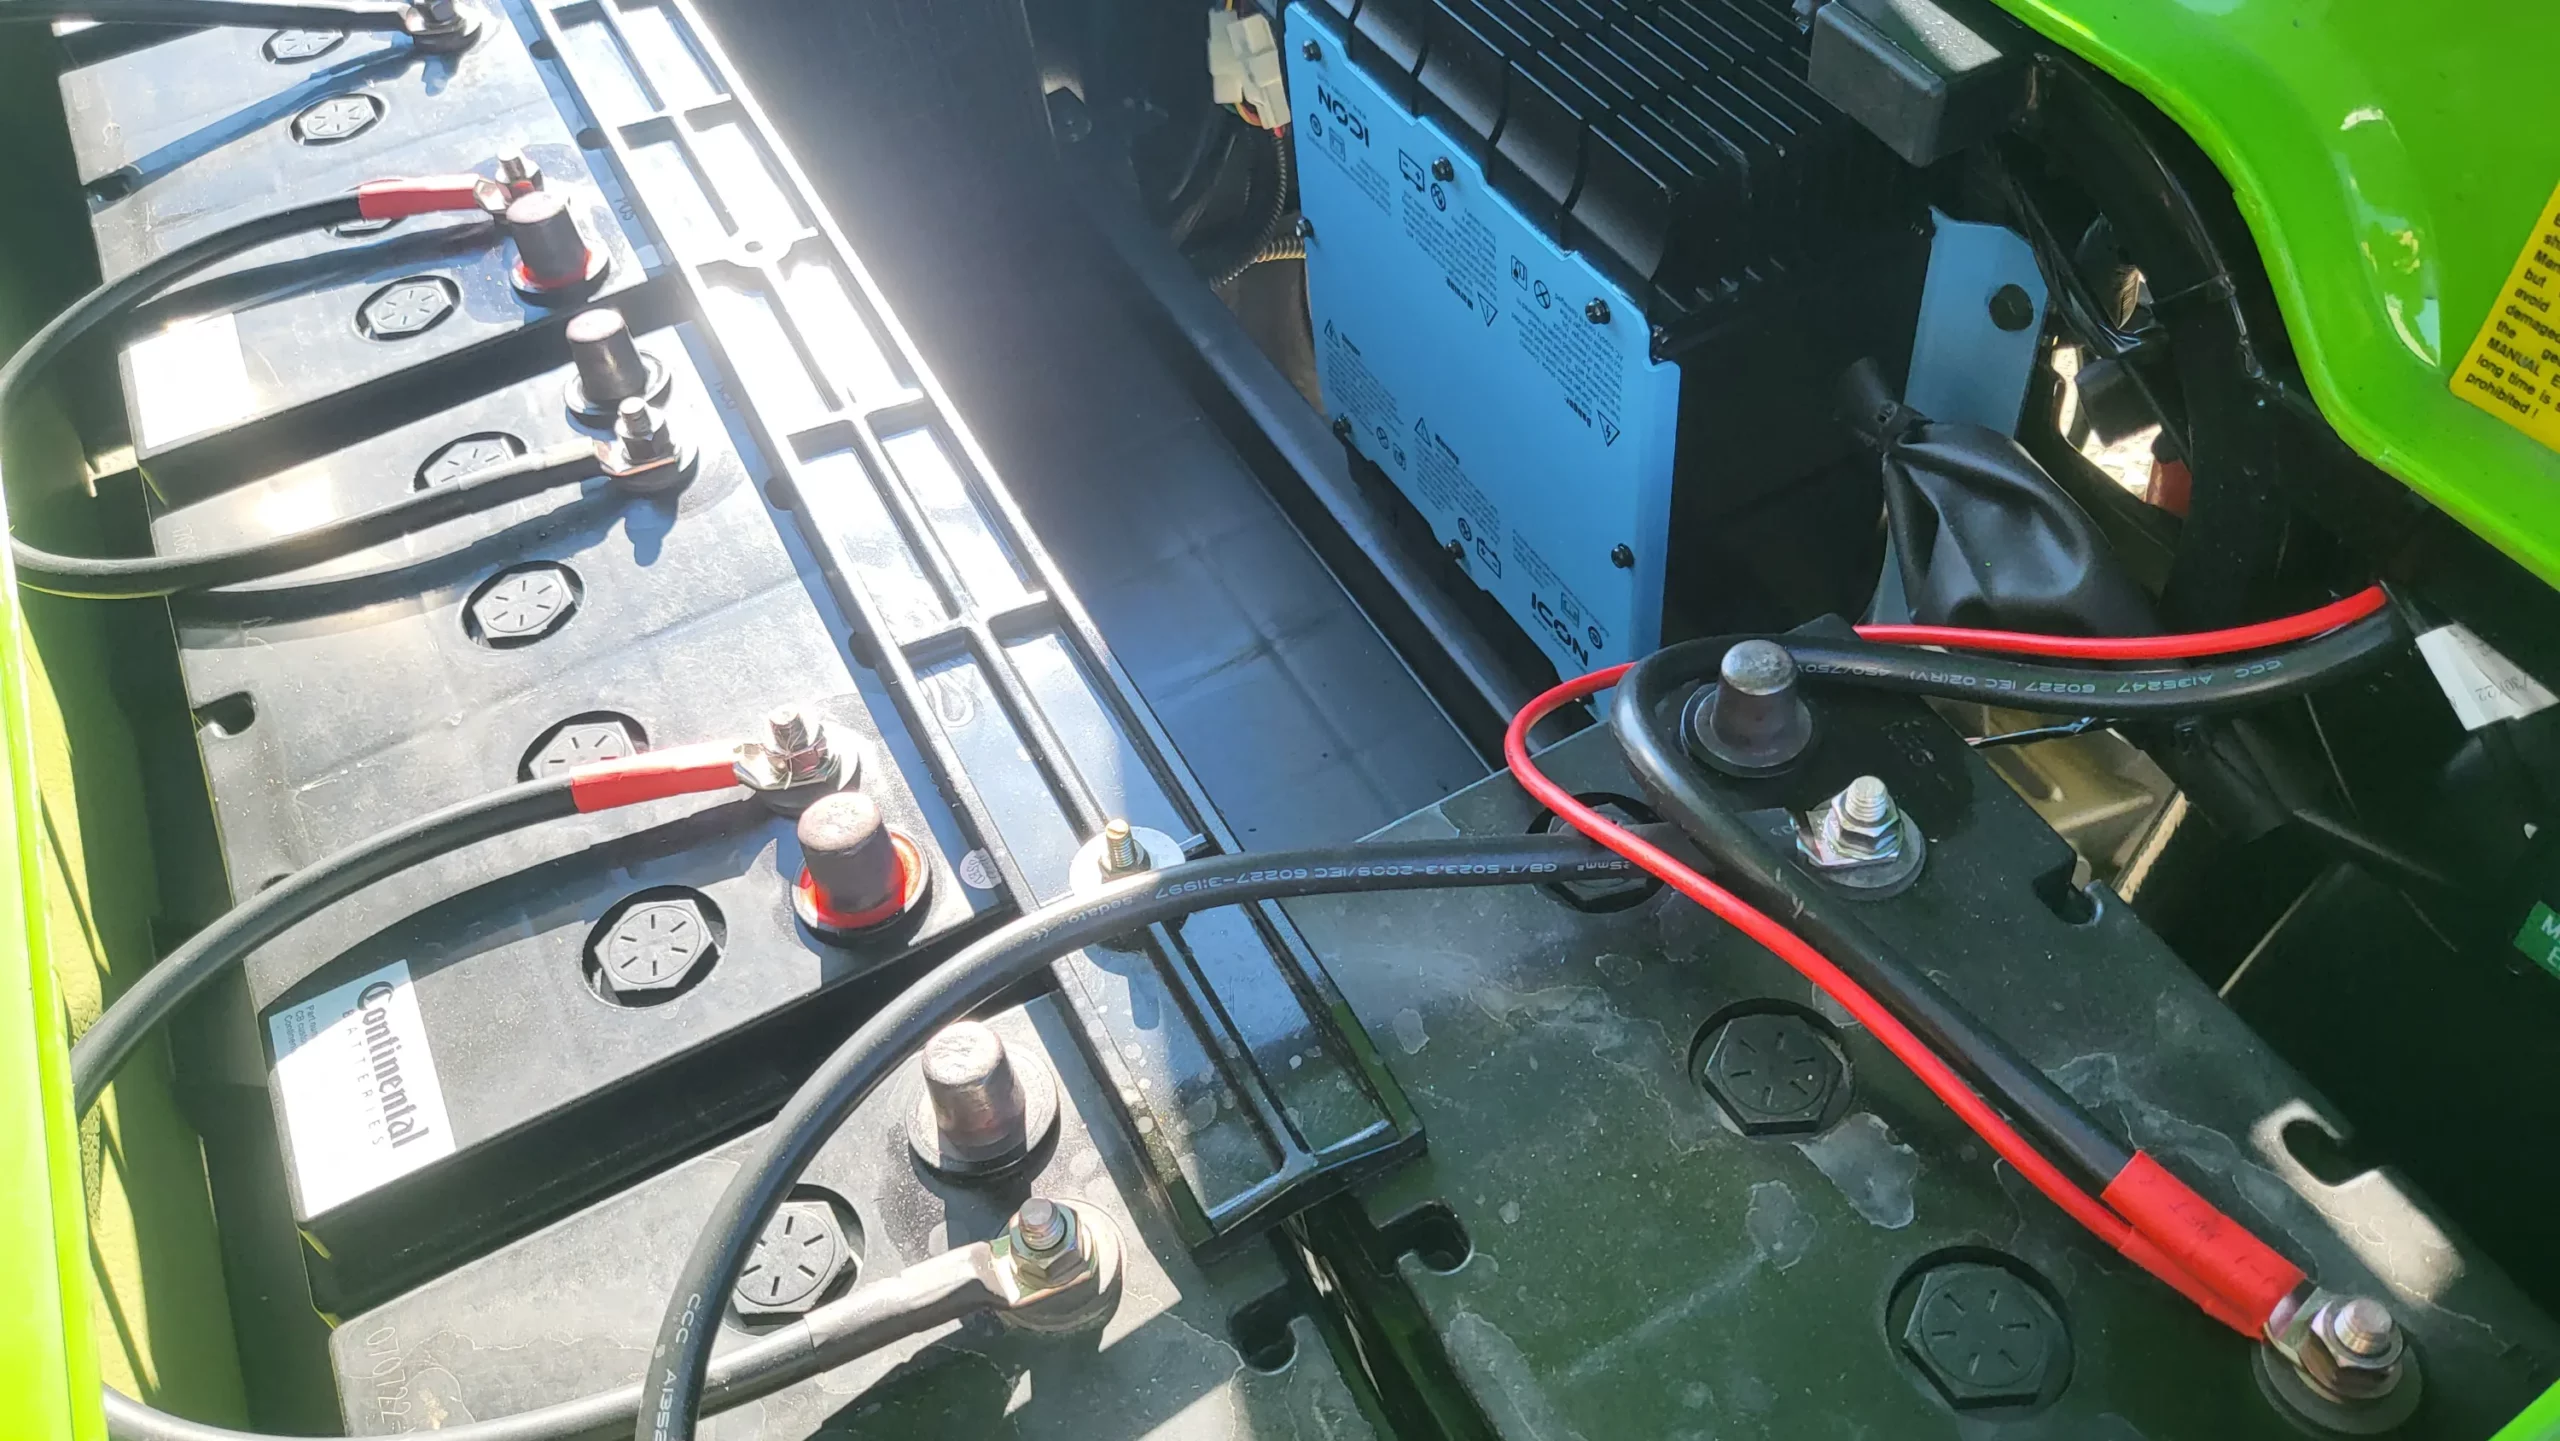
Checking the Connections
After connecting, check the connections. Make sure they are tight. Loose connections can cause problems. Check for any sparks. Sparks mean there is a problem.
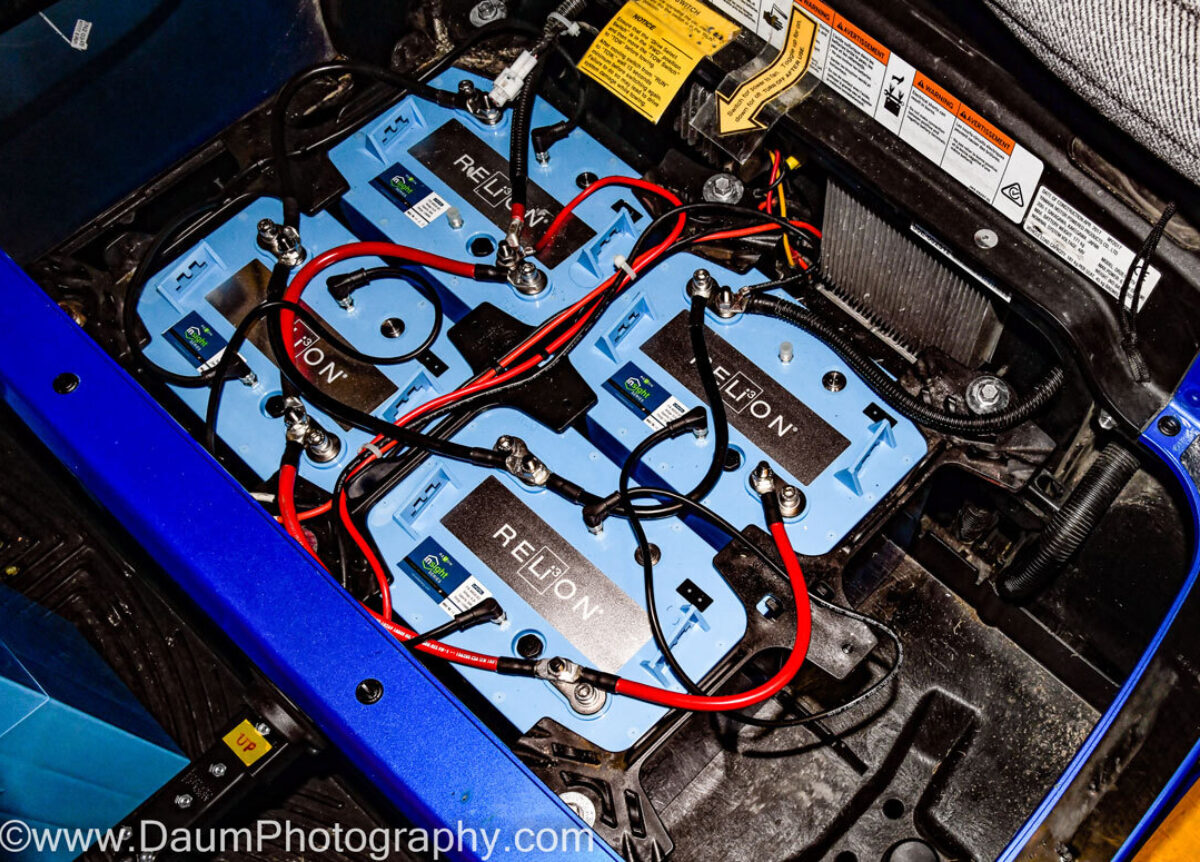
Credit: relionbattery.com
Testing the Cart
Once everything is connected, test the cart. Turn on the cart. Drive it slowly. Make sure it runs well. If it does, you did it right!
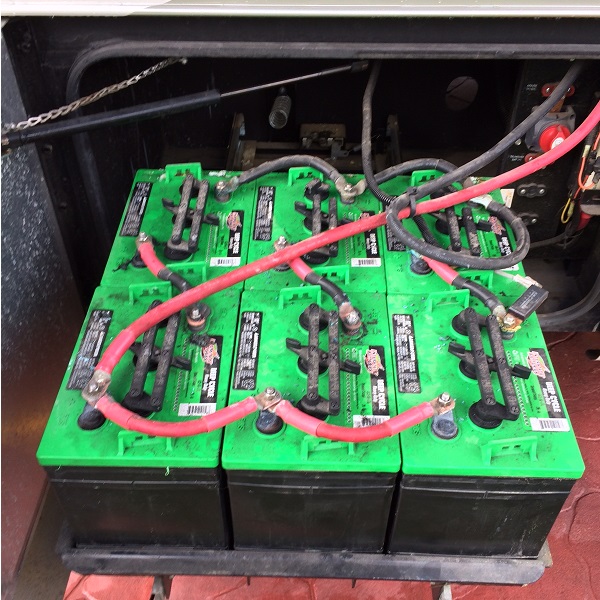
Credit: petesgolfcarts.com
Maintaining the Batteries
Regular maintenance keeps batteries healthy. Check water levels monthly. Clean terminals to avoid corrosion. Keep batteries charged. This makes them last longer.
Common Problems and Solutions
Sometimes problems happen. Here are some common ones:
- Batteries not charging: Check connections. Make sure they are tight.
- Cart not running: Check if batteries are fully charged. Also, check connections.
- Batteries getting hot: This can be a sign of a bad battery. Replace any bad batteries.
Frequently Asked Questions
How Do You Connect Golf Cart Batteries?
Connect batteries in series for more voltage. Use cables to link the positive to negative terminals.
What Tools Do I Need To Connect Golf Cart Batteries?
You need wrenches, battery cables, and safety gloves. A voltage tester is also helpful.
Can I Connect Different Brands Of Batteries?
Yes, but ensure the voltage and capacity match. Mixing can reduce performance.
How Do I Know If My Batteries Are Connected Correctly?
Check voltage with a tester. It should match the total of all batteries combined.
Conclusion
Connecting golf cart batteries is easy. Just follow the steps. Always be safe. Use the right tools. Check your connections. And enjoy a smooth ride!
Helpful Resources
Here are some helpful resources:


Leave a Reply