
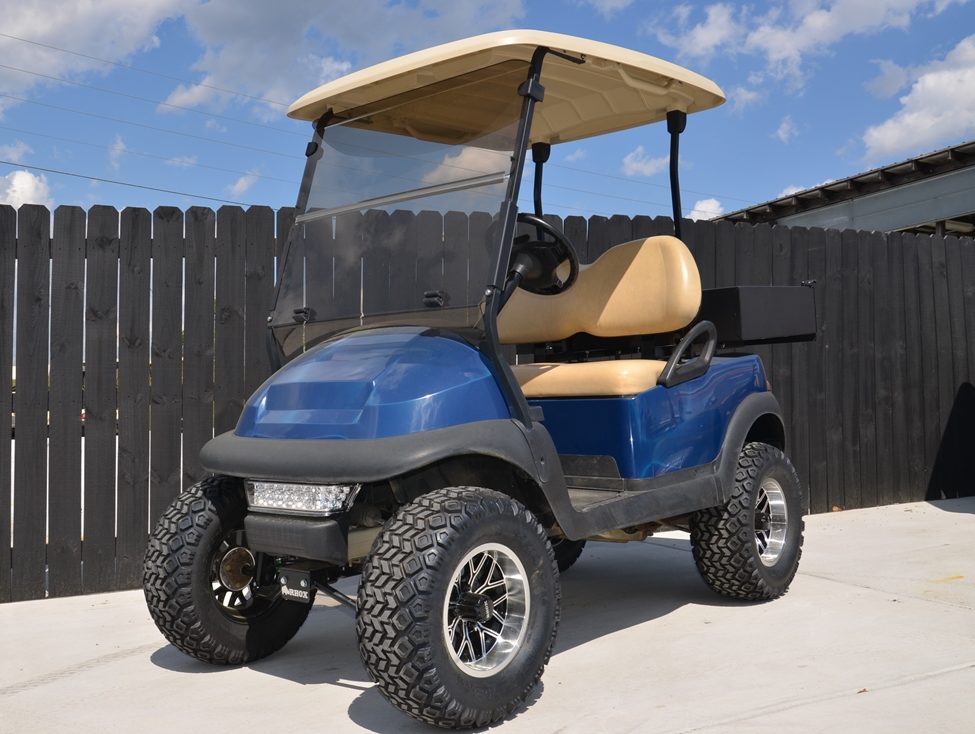
Golf carts are fun and useful. But, they need a good battery charger. A bad charger can cause problems. So, it is important to test it.
Why Test a Golf Cart Battery Charger?
Testing your golf cart battery charger is very important. It helps make sure your charger works well. It also helps avoid problems with your golf cart. A good charger keeps your batteries strong and long-lasting.

Credit: www.vatrerpower.com
Tools You Need to Test Your Battery Charger
You need some tools to test your battery charger. Here is a list:
- Multimeter
- Safety gloves
- Safety glasses
- Charger manual (if available)
Steps to Test Your Golf Cart Battery Charger
Follow these steps to test your charger:
Step 1: Safety First
Wear your safety gloves and glasses. Safety is very important when working with batteries.
Step 2: Check The Power Outlet
Plug your charger into the power outlet. Make sure the outlet works. You can use another device to check.
Step 3: Inspect The Charger
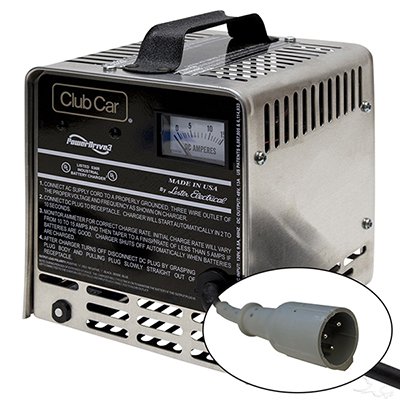
Look at your charger. Check for any damage. If you see damage, do not use it. Contact a professional for help.
Step 4: Use The Multimeter
A multimeter measures electric current. Set your multimeter to DC volts. Plug the charger into the cart. Touch the red probe to the positive terminal. Touch the black probe to the negative terminal.
Reading the Multimeter
The multimeter shows the voltage. A good charger shows a reading between 36 to 48 volts. If the reading is lower, the charger may be bad.
Step 5: Check The Battery Connections
Check the battery connections. Make sure they are clean and tight. Loose or dirty connections can cause problems.
Step 6: Charge The Batteries
Turn on the charger. Let it charge for a few minutes. Check the voltage again with the multimeter. The voltage should increase. If it does not, the charger may be bad.
Common Problems with Golf Cart Battery Chargers
Here are some common problems:
- Charger does not turn on
- Charger turns off quickly
- Charger gets too hot
- Batteries do not charge fully
If you face these problems, check your charger and batteries. Sometimes, a simple fix can solve the issue.
Maintaining Your Golf Cart Battery Charger
Maintenance is important for a long-lasting charger. Here are some tips:
- Keep the charger clean and dry
- Store it in a cool, dry place
- Check for damage regularly
- Follow the manual instructions
Credit: jsgolfcarts.com
When to Replace Your Golf Cart Battery Charger
Sometimes, a charger cannot be fixed. Here are signs to replace it:
- Charger does not charge at all
- Charger makes strange noises
- Charger is damaged
Replacing the charger can save your batteries. It also keeps your golf cart running well.
Frequently Asked Questions
How Can I Test My Golf Cart Battery Charger?
Use a multimeter to check voltage output.
What Should Be The Charger’s Output Voltage?
Charger output should be 36 or 48 volts.
Why Is My Golf Cart Battery Not Charging?
Check connections. Inspect the charger and battery for issues.
How Do I Know If My Charger Is Working?
Check for indicator lights and proper voltage output.
Conclusion
Testing your golf cart battery charger is easy. Follow the steps and use the right tools. Regular testing keeps your golf cart in good shape. Always remember safety first. Happy golfing!


Leave a Reply